1. Capture a lead
Every lead in Calliyo comes from one of four sources. Pick the one that matches how your team works.
| Source | When to use it | Bulk? |
|---|---|---|
| Add a single lead | Walk-ins, referrals, one-off inquiries | No |
| Import a CSV | List you bought, exported from another system | Yes |
| Inbound webhook | Web forms, ad-platform lead gen, Zapier | Yes (continuous) |
| Public API | Custom integrations with your own systems | Yes |
Add a single lead
Navigate
Sidebar → Leads → Add lead.
Switch to “Add single lead”
The page has two tabs at the top: Import leads and Add single lead. Pick the second.
Fill the form
| Field | Required? | Notes |
|---|---|---|
| First name | Yes | |
| Last name | No | |
| Phone | Yes | E.164 preferred (+91 98765 43210) but plain digits work. |
| No | ||
| Tags | No | Type a tag and press Enter to add. Repeat for more. |
| Status | Defaults to Unassigned | Override if you want to slot the lead directly into a different stage. |
Save
Click Save. The lead is created and you’re taken back to the Leads list. The new row is at the top.
Phone numbers are deduplicated. If you add a lead with a phone number that already exists, Calliyo will warn you and let you open the existing lead instead.
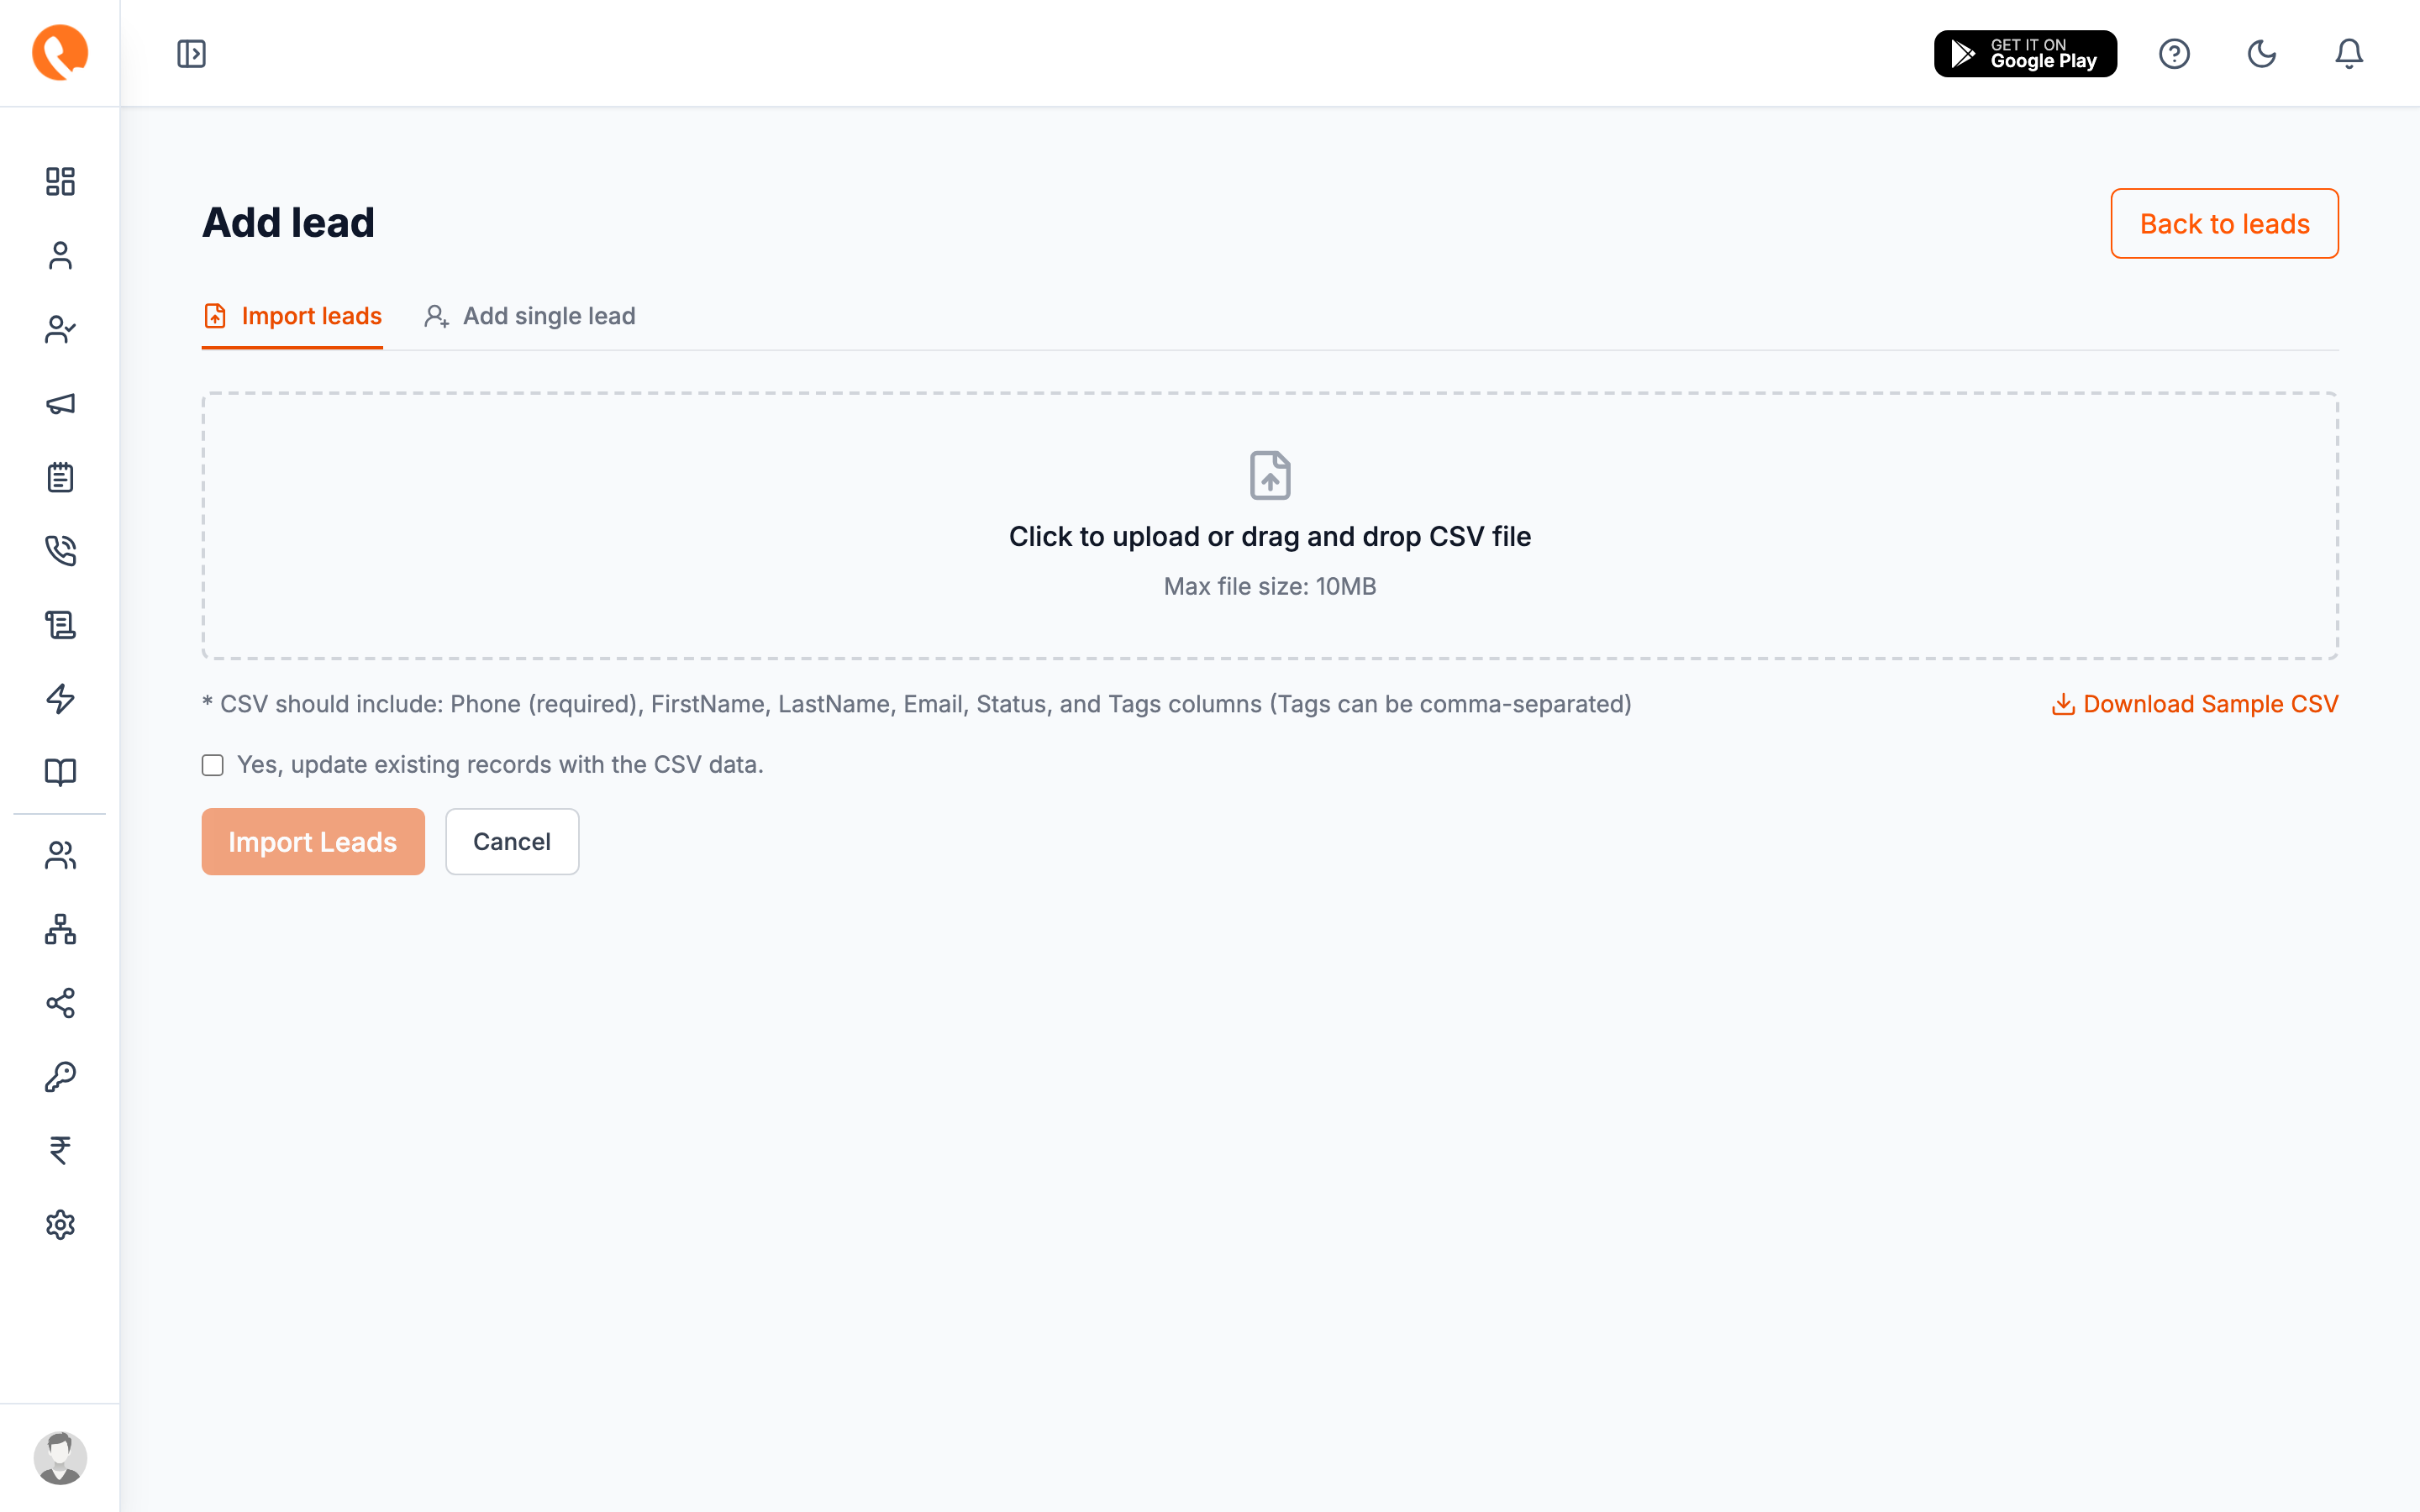
Import a CSV
For uploading a list at once. Calliyo accepts CSVs up to 10 MB with these columns (header names are case-insensitive):
| Column | Maps to | Required? |
|---|---|---|
FirstName | First name | Yes |
LastName | Last name | No |
Phone | Phone | Yes |
Email | No | |
Status | Initial status | No (defaults to Unassigned) |
Tags | Tags (comma or semicolon separated) | No |
Navigate
Sidebar → Leads → Add lead → Import leads.

Drop your file
Drag the CSV onto the dotted area, or click to pick from your file system.
Preview & confirm
A preview table shows the first rows so you can verify the columns mapped correctly. If a required field is missing, that row is highlighted.
Import
Click Import. Calliyo processes the file and shows a summary: “X leads imported, Y skipped (duplicate), Z errors.”
Rows with phone numbers that already exist in your account are skipped, not overwritten. If you need to update existing leads in bulk, use the public API instead.
Inbound webhook
For your website’s contact form, landing pages, ad-platform lead-gen exports, or any “fire-and-forget” feed of leads.
Setup is a one-time admin task:
- Go to Settings → Integrations → Webhook API → Configure.
- Create a webhook key. See the full reference at Inbound webhooks.
- Point your form / Zapier / ad-platform integration at the URL the key gives you.
After that, every submission becomes a new lead automatically, with the default status and tags you configured on the webhook key.
Public API
For developers integrating their own apps. Generate an API token at
Settings → API (see API tokens) with leads:write
scope, and POST to the leads endpoint with a Bearer token.
What happens next?
A freshly captured lead lands on the Unassigned status by default. The next stage is to put it in an agent’s hands → Assign to an agent.